 Save
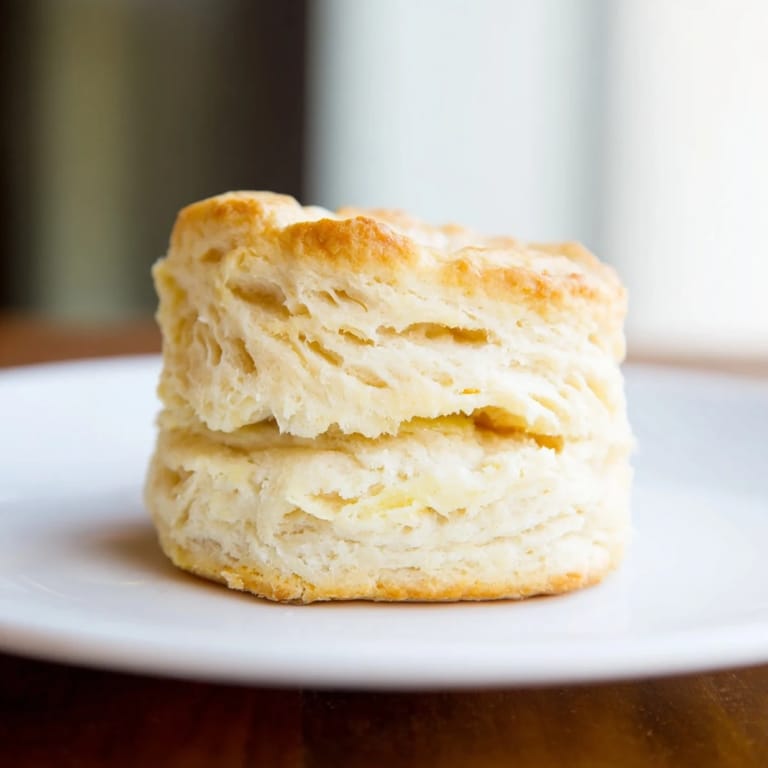
Save The smell of buttermilk biscuits baking still pulls me back to my grandmother's tiny kitchen, where she'd let me stand on a chair to reach the counter. Her hands moved so fast I could barely track them, working butter into flour with this rhythmic confidence that seemed almost magical. What I learned watching her, and what took me years to really understand, is that biscuits are about touch and temperature more than any precise measurement. Now these golden layers are my go-to comfort food, ready in thirty minutes flat.
Last winter, during a snow day that kept us all inside, I made three batches back to back while my housemate stood by the oven watching them rise. We ate them warm with butter and honey, standing at the counter, snow falling outside the window, and something about that simple moment felt like exactly what home should taste like. Those biscuits disappeared faster than I could bake them, which might be the best endorsement any recipe can get.
Ingredients
- Allpurpose flour: The protein structure helps biscuits rise while keeping them tender, and I have learned that weighing your flour yields consistent results
- Baking powder and baking soda: This double acting duo ensures maximum lift and that beautiful golden top we all want to see
- Unsalted butter: Keeping it extremely cold is nonnegotiable, those small butter pockets melting in the oven create the flaky layers
- Cold buttermilk: Adds tang and tenderness while reacting with the baking soda for extra rise, and the acidity makes for a more complex flavor
- Granulated sugar: Just enough to balance flavors and help with browning without making these sweet
Tired of Takeout? 🥡
Get 10 meals you can make faster than delivery arrives. Seriously.
One email. No spam. Unsubscribe anytime.
Instructions
- Heat things up:
- Preheat your oven to 220°C and line a baking sheet with parchment paper, getting everything ready before you start working with the cold ingredients.
- Mix your dry base:
- Whisk together flour, baking powder, baking soda, salt, and sugar in a large bowl until everything is evenly distributed.
- Cut in the butter:
- Add those cold cubed butter pieces and work them quickly with a pastry cutter or your fingertips until you see coarse crumbs with some pea sized bits still visible.
- Add the buttermilk:
- Make a well in the center, pour in the cold buttermilk, and stir gently with a fork just until the dough comes together.
- Build the layers:
- Turn the dough onto a floured surface, pat it into a rectangle, fold it in half, and repeat this folding process twice more for incredible flaky layers.
- Shape them up:
- Pat the dough to 2.5 cm thickness, cut straight down with a round cutter, and place biscuits close together on your prepared sheet.
- Finish and bake:
- Brush tops with a little buttermilk, bake for 13 to 15 minutes until deeply golden, and let them cool briefly on the sheet.
 Save
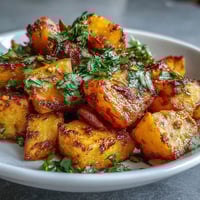
Save These biscuits have become my Sunday morning tradition, usually served alongside scrambled eggs and whatever fruit looked best at the market. Something about breaking into that warm, flaky center makes even an ordinary weekend feel like a small celebration worth savoring.
Making Them Your Own
Once you have mastered the basic technique, these biscuits become a canvas for whatever flavors you crave. Sharp cheddar and black pepper turns them into the perfect side for soup, while fresh herbs and a hint of garlic make them extraordinary alongside roast chicken.
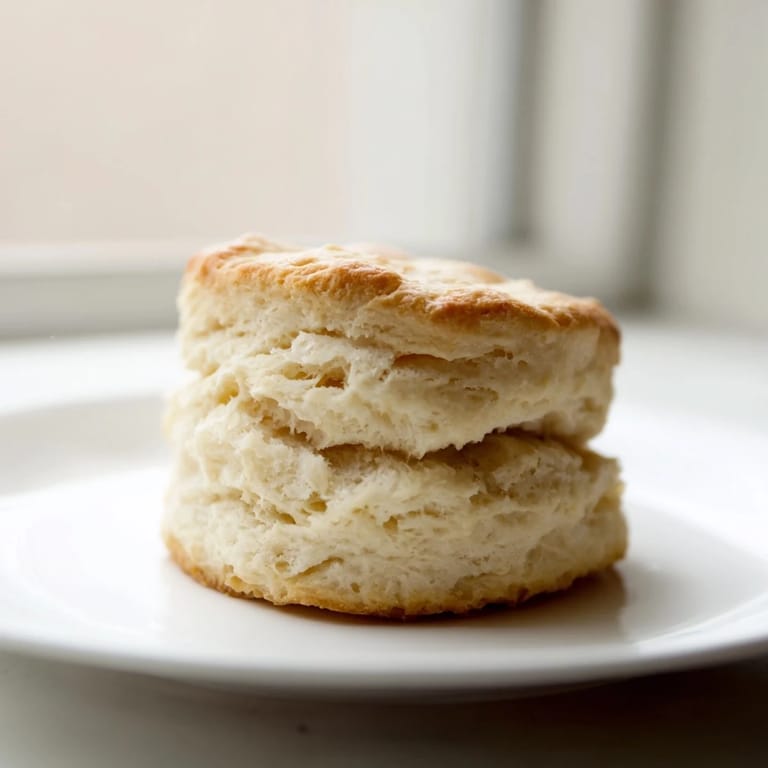
Getting The Rise Right
That tall bakery style lift comes from getting your oven fully hot before the biscuits go in and placing them close together on the baking sheet so they support each other as they rise. I have found that positioning the rack in the upper third of the oven gives the best golden tops while ensuring the centers bake through completely.
Storage And Reheating
Leftover biscuits keep surprisingly well in an airtight container for up to two days, though they rarely last that long in my house. When you want to refresh them, wrap each biscuit in foil and warm in a 180°C oven for about 5 minutes.
- Freeze unbaked biscuits on a baking sheet, then transfer to a bag and bake from frozen, adding a few extra minutes
- Split day old biscuits and toast them cut side up for incredible breakfast sandwich bases
- Stale biscuits make the best bread pudding cubes, just let them dry out completely first
 Save
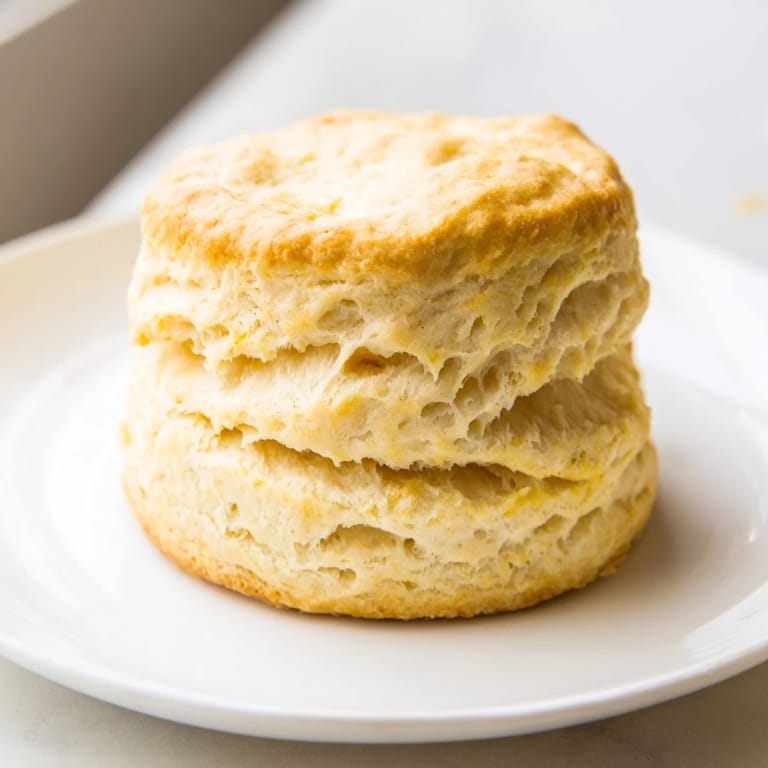
Save There is something deeply satisfying about pulling a tray of homemade biscuits from the oven, golden and steaming, knowing you created something this wonderful from simple ingredients. I hope these find their way into your kitchen and become part of your own story.
Recipe Q&A
- → How do I achieve flaky layers in biscuits?
Folding and gently patting the dough multiple times before cutting helps create layers of butter and flour, producing a flaky texture as it bakes.
- → Can I substitute buttermilk if unavailable?
Yes, mix ¾ cup milk with 2 teaspoons lemon juice or vinegar, let it sit for 5 minutes, then use as a buttermilk substitute.
- → What is the ideal oven temperature for baking these biscuits?
Bake at 220°C (425°F) to ensure the biscuits rise tall and develop a golden-brown crust quickly.
- → Why is cold butter important in the dough?
Cold butter creates steam pockets as it melts during baking, which helps produce light, flaky layers in the biscuits.
- → How can I add more flavor to the dough?
Incorporate ingredients like grated cheddar, fresh herbs, or a pinch of black pepper to enhance taste.
- → What tools are needed to prepare these biscuits?
You'll need mixing bowls, a pastry cutter or forks, measuring cups and spoons, a baking sheet, parchment paper, and a biscuit cutter or glass.